SUNDAY'S BIG GIRL BED

posted by Elshane on Sep 23 2019, under Baby/Motherhood


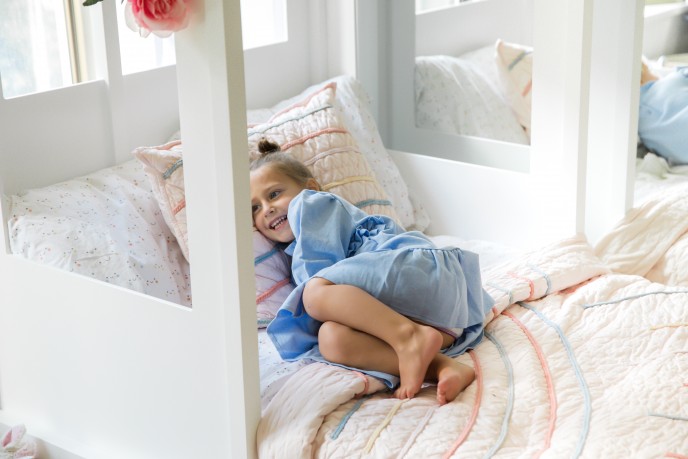
Some dream of their wedding dress, some dream of their baby’s first nursery. I always dreamed of an epic fantasy room for my toddler. And today, my dreams came true!

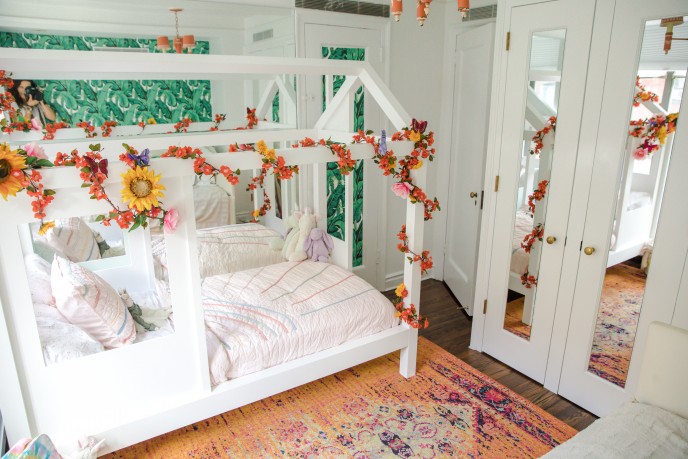
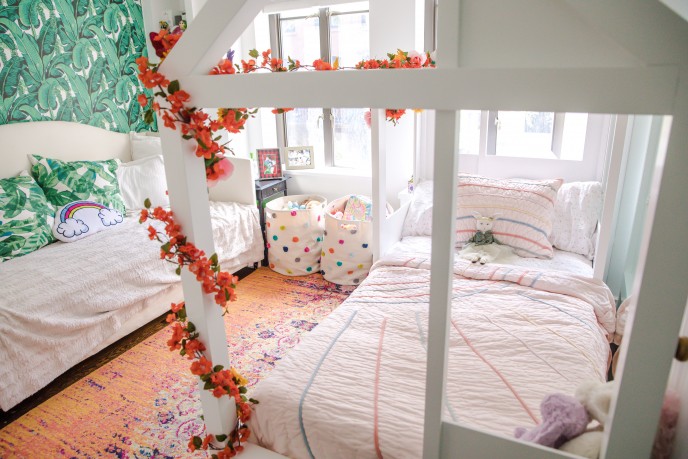
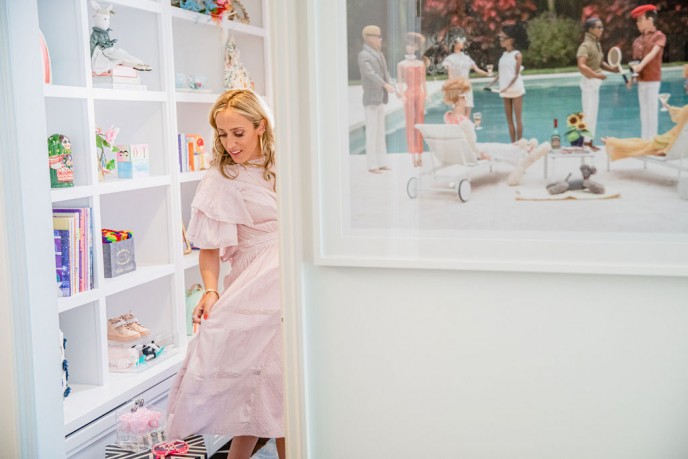
I discovered the Tiny House White Twin Bed from Crate and Kids in August, one month after I delivered baby Vega, and one month before Sunday started at an intimidating new school. 

It was the perfect storm…

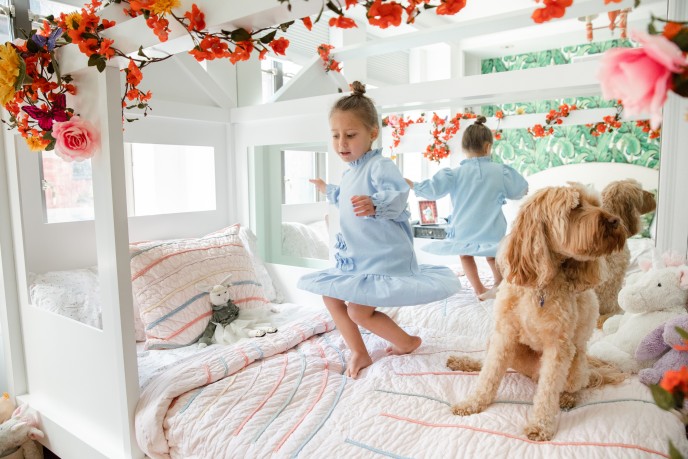
I decided it was time to surprise Sunday with this monumental gift of all gifts-- the ultimate princess castle house bed-- something to signify her journey into becoming an incredibly kind and gentle big sister, and a brave, strong, smart student.


The Tiny House White Twin Bed fit perfectly in our modest NYC apartment. Since all of the walls of the bed are open, it welcomed an airy feel to the bedroom.


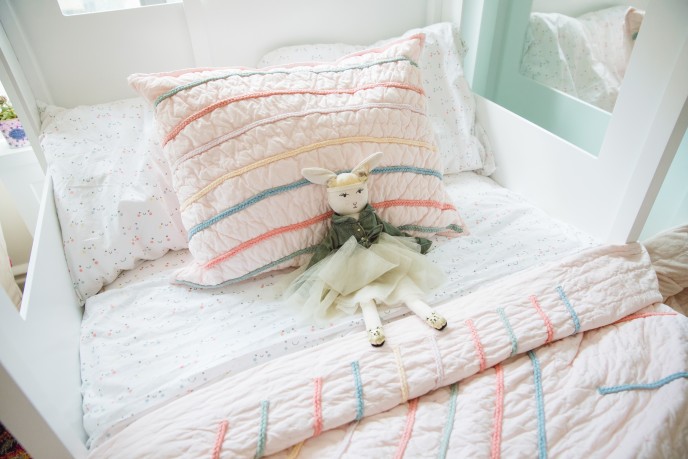
I chose the…. brace yourself… SUN PINK bedding set. Yes, you read that correctly. It seems, ironically enough, that Crate and Kids named an entire bedding collection after my daughter! (Sun, being Sunday’s #1 nickname, and Pink, being her favorite color, of course.)

Hi, I’m just kidding everyone! The set wasn’t named after Sunday, but it sure was the perfect fit for her, regardless.


Our entire family has been enjoying the comfort of Sunday’s new bed. Whether we’re all playing “house” and entering the bed through our imaginary windows and doors, or we’re all cuddled up at night, reading stories and sharing moments from our day, this bed has left a perma-grin on our entire family since the moment it arrived.


FTC Disclaimer: This post is sponsored by Crate and Kids. All opinions are my own.


Photographs taken in NYC by Chiara Mescozzi
Continue reading...

Shop the Look

GALAXY GIRL NURSERY

posted by Elshane on Jul 9 2019, under Baby/Motherhood


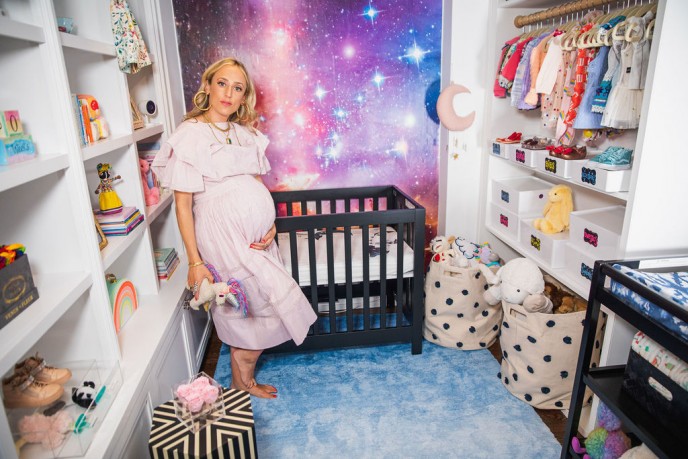
And here she is… introducing GALAXY GIRL and she’s OUT OF THIS WORLD! It took making a second baby for me to finally grab a hold of this whole “nursery” concept, pushing past the Pinterest norms of baby pink bows and chevron grey drapes that I (very naively) thought ALL nurseries HAD to be. No, really… for my first baby, I didn’t even know it was feasible to find crib bedding, decor, and vibes that spanned beyond that classic Pottery Barn/ Restoration Hardware look that is so extremely NOT me!


This nursery proved to surpass my expectations in so many ways.


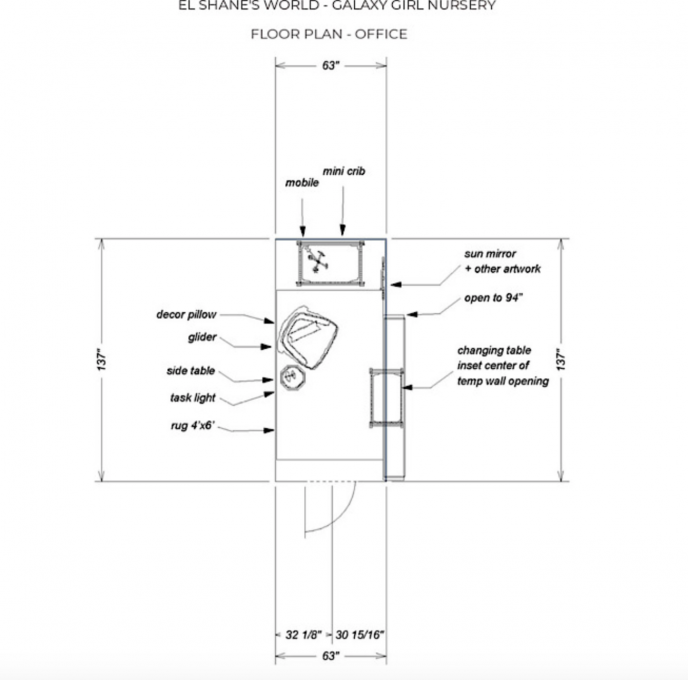
First, take a 50 square foot room. Yes, 50 square feet! Roughly the size of small master bathroom, a large kitchen pantry, a laundry room. You get the idea. 50 square feet of pure love, made possible by a room dividing custom bookshelf that sections this space off of the living room. Gotta love the craftiness of tight NYC living! Here’s how it all went down…


I met well-known nursery interior designer Lisa Janvrin from @youthfulnest right when I found out I was pregnant. I reluctantly enlisted her help after I realized I was in way over my head trying to design a feel-good nursery in such a tight space. {I say reluctant because I had never worked with an interior designer in my life before, and as a super type-A Virgo, it was hard for me to accept another’s opinion about decor.} Well, let’s just say that Lisa is an angel sent from above, because I could have never done this without her!

I selected Lisa's Premium Package which comes with a floor plan, color consultation, room installation guide, and personal shopper! The process was flawless from start to finish!

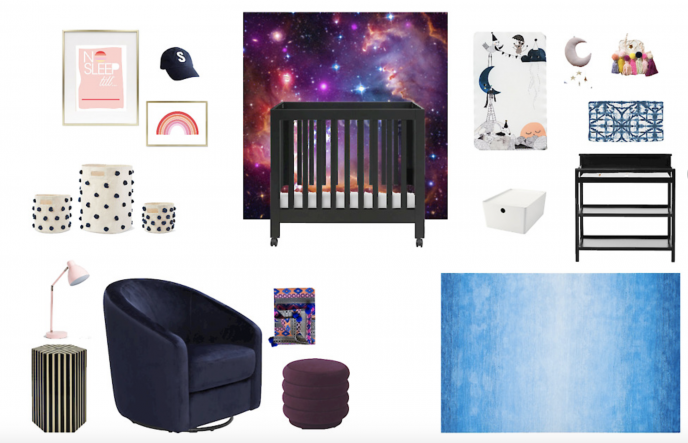
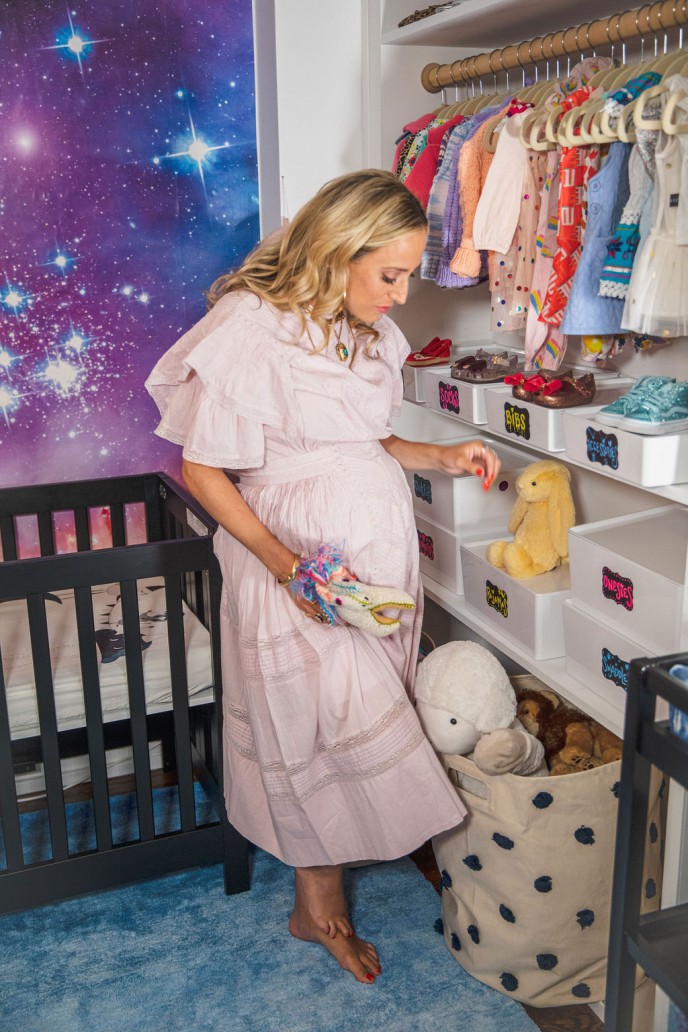
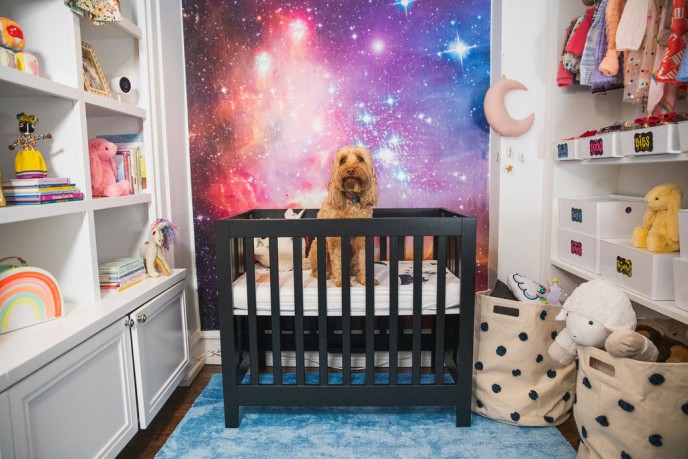
We designed the room around our @rebelwalls space-themed wallpaper. The theme was a no-brainer for me. I knew I wanted a Galaxy theme since I was naming my daughter Vega, one of the brightest stars in the sky! The rest started falling into place…


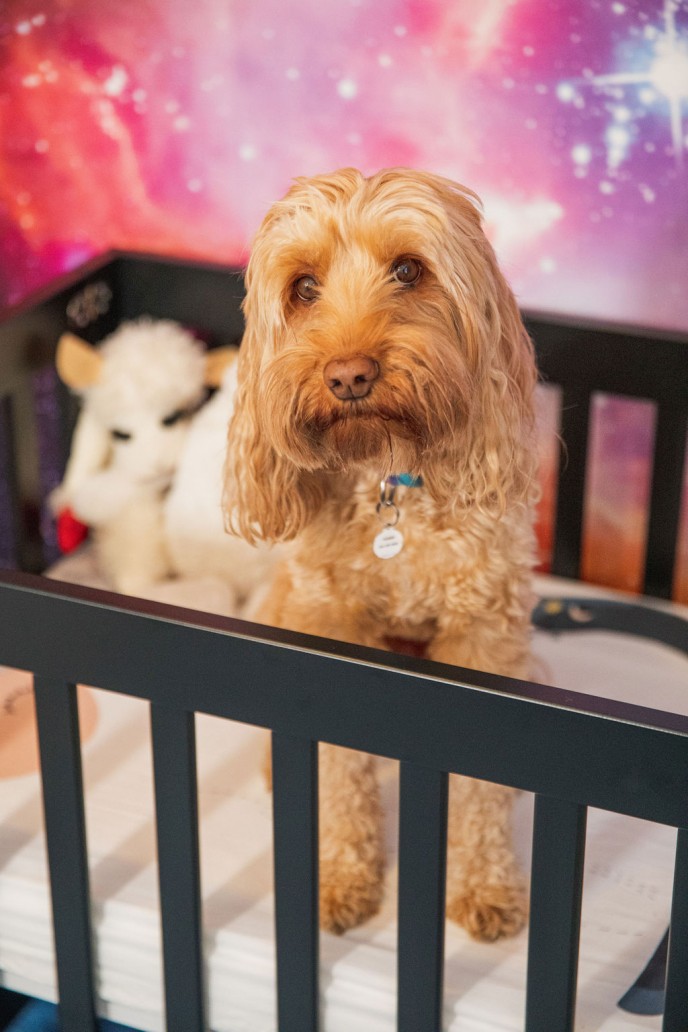
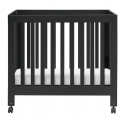
Lisa pushed me to choose black furniture, which was a homerun for the space (again, took some convincing-- thanks Lisa)! The mellow black allows the wallpaper, rug, and small decor pieces to shine front and center, without the eyesore of any bulky furniture in its way. This mini crib from @projectnursery with @rookiehumans galaxy sheets was a natural fit for the space!


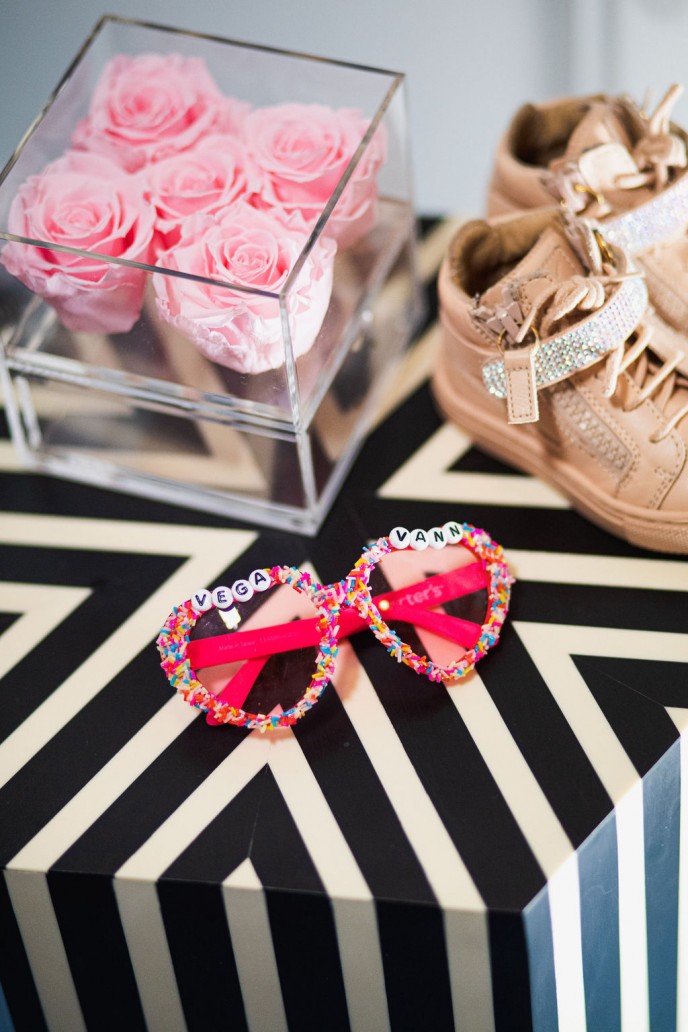
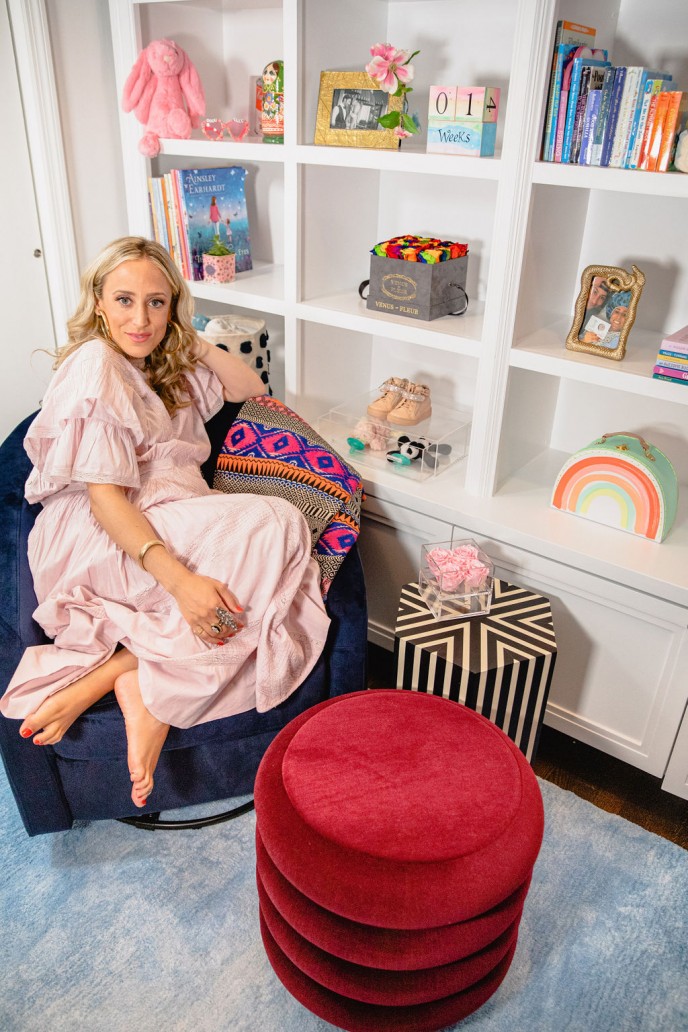
For a small space, each decor item has to make a statement in order for the room to feel just right. @paynesgreyhome was my go-to for this gorgeous plush rug, swooooonworthy end table, and pop of color throw blanket that I put over the glider. I’m so relieved to have finally picked furniture that’s innately ME, instead of pieces that look “quintessentially nursery” …. SNOOOOZE! 


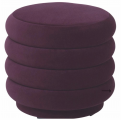
And then my heart skipped a beat when this burgundy pouf arrived from @burkedecor. Are you sensing a theme here? Theme: No need to stick to children-like furniture in a nursery! This pouf can translate from nursery to living room to foyer in the blink of an eye. Regal realness!


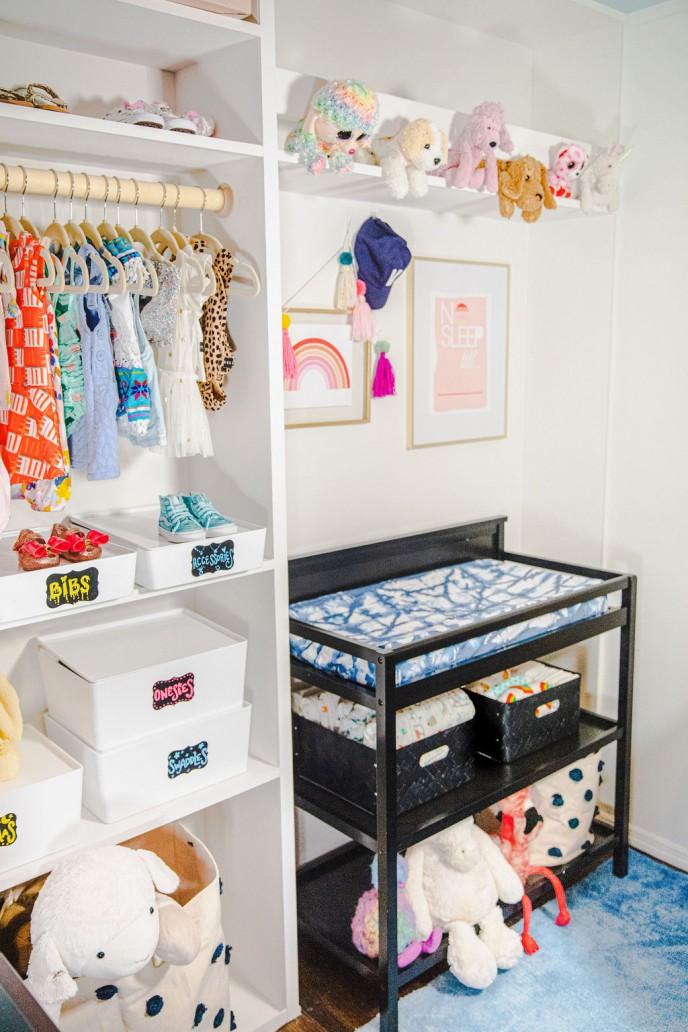
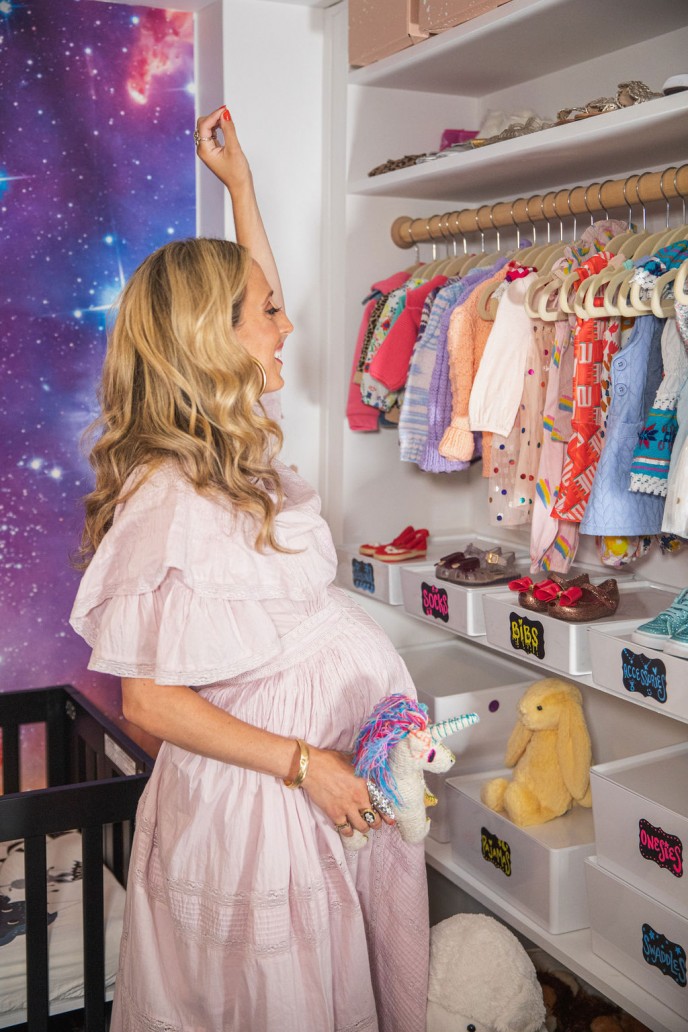
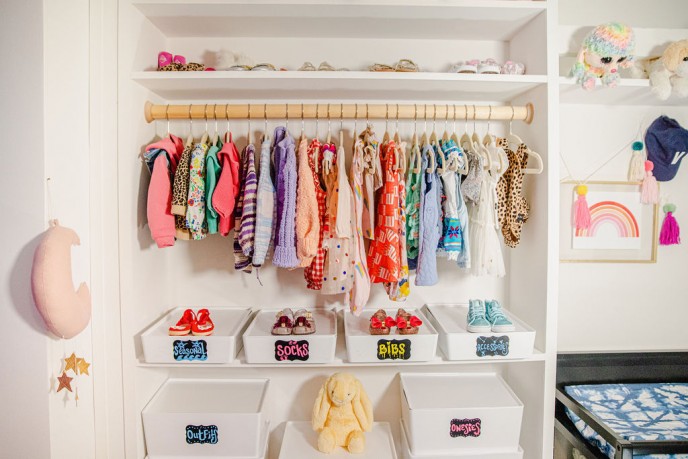
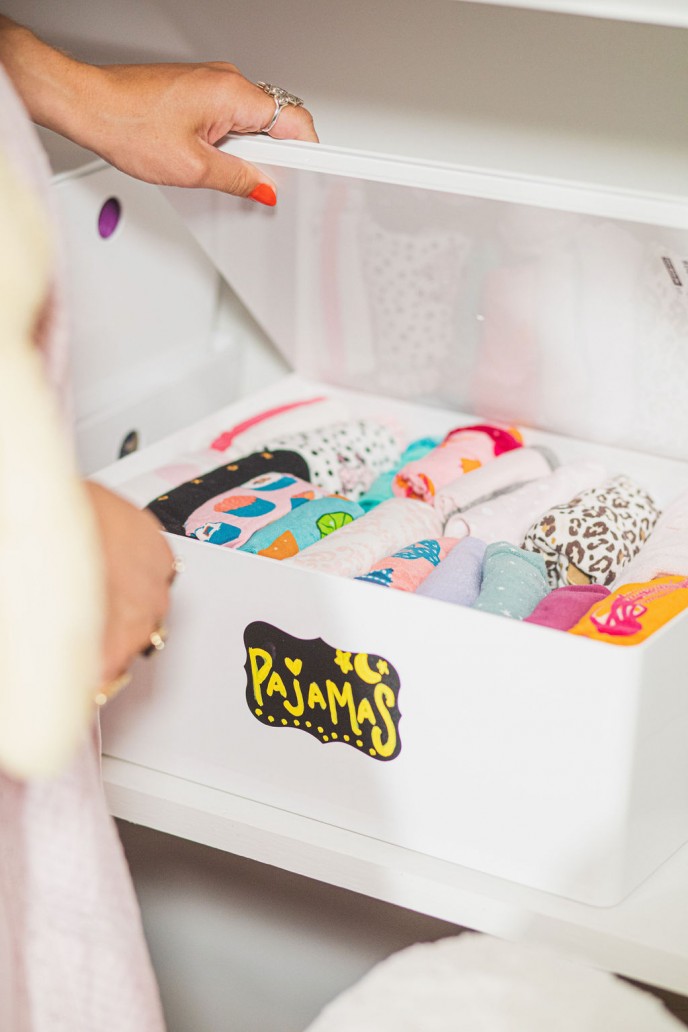
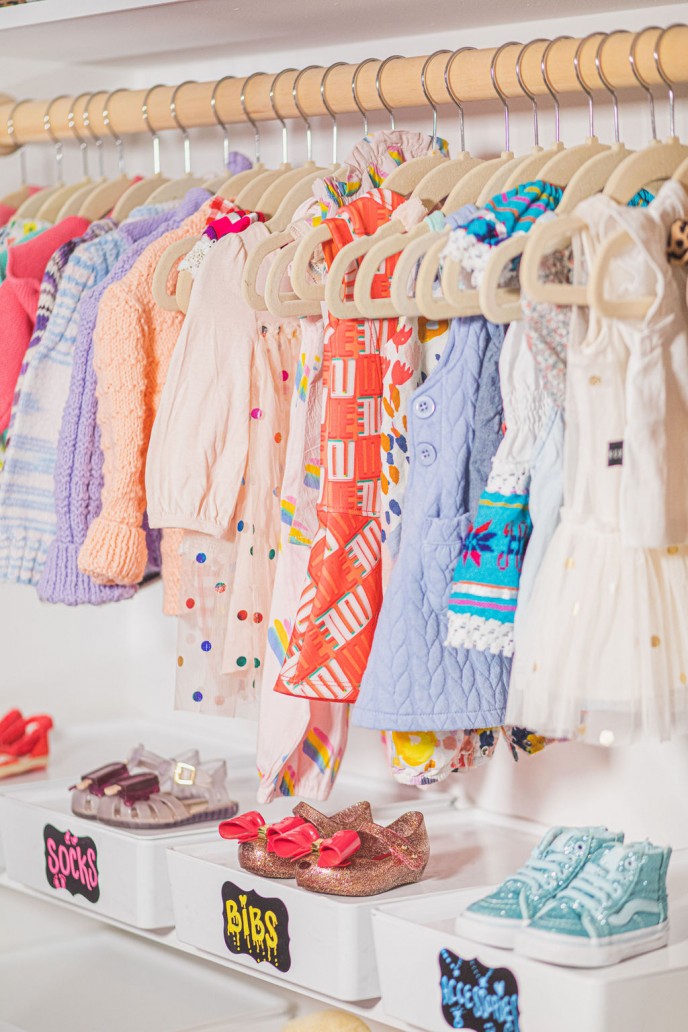
Let me put a little PSA out there. It really helps to have a baby daughter if you already have an older one! Vega’s closet filled up FAST with all of Sunday’s favorite old clothing. That was certainly a stress-reliever-- no need to shop. Um.... ok, ok, ok, don’t worry… I’ll still shop plenty!


We hired @Wall2WallNY to build a custom bookshelf room divider to make this nursery as space efficient as possible. Wall 2 Wall was able to build a realistic space around my exact needs, and it’s all temporary! When we move in a few months, the bookshelf will come down without a trace. They can build temporary walls, doors, bookshelves, and more. They were a dream to work with in NYC. Mention ELSHANE to them for 10% off your installation.


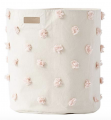
I did call on the classic nursery gods for one thing… my @PehrDesigns bins! Because, let’s be honest, what nursery is complete without them? These canvas bins are the perfect organizational tool for any nursery-- providing toy storage, diapering storage, and a cute laundry situation, in a plethora of color options. I went with navy and blush pom poms, a little yin and yang!


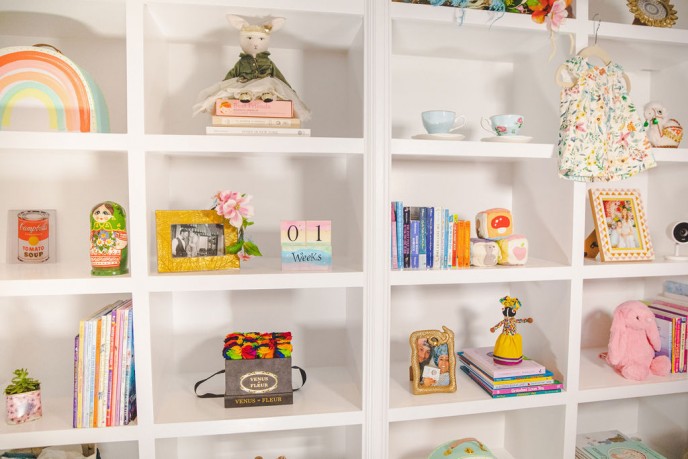
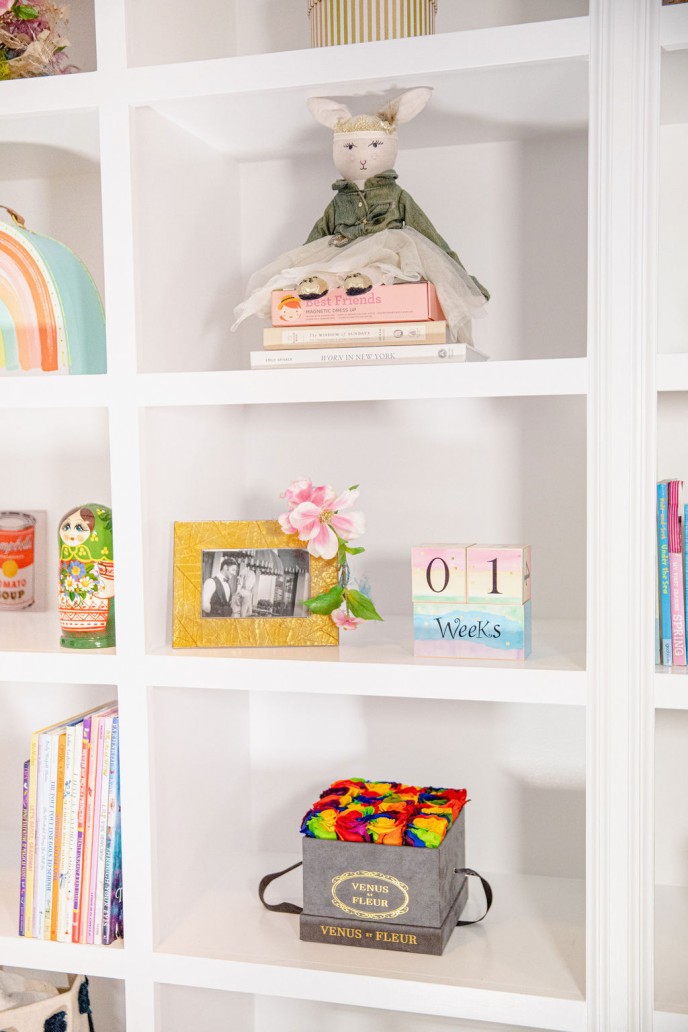
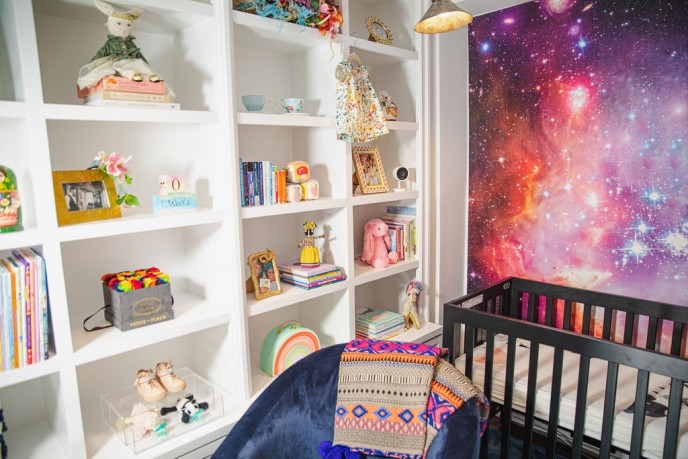
Styling the built-in bookshelf gave me all the mama bear vibes. A nursery can never have enough books, special plush stuffed animals, and @venusetfleur flowers. Also, I found these milestone blocks on @etsy and plan to use them for weekly/monthly baby photos!


And can you even spy my @googlenest camera? It blends in perfectly on the bookshelf…


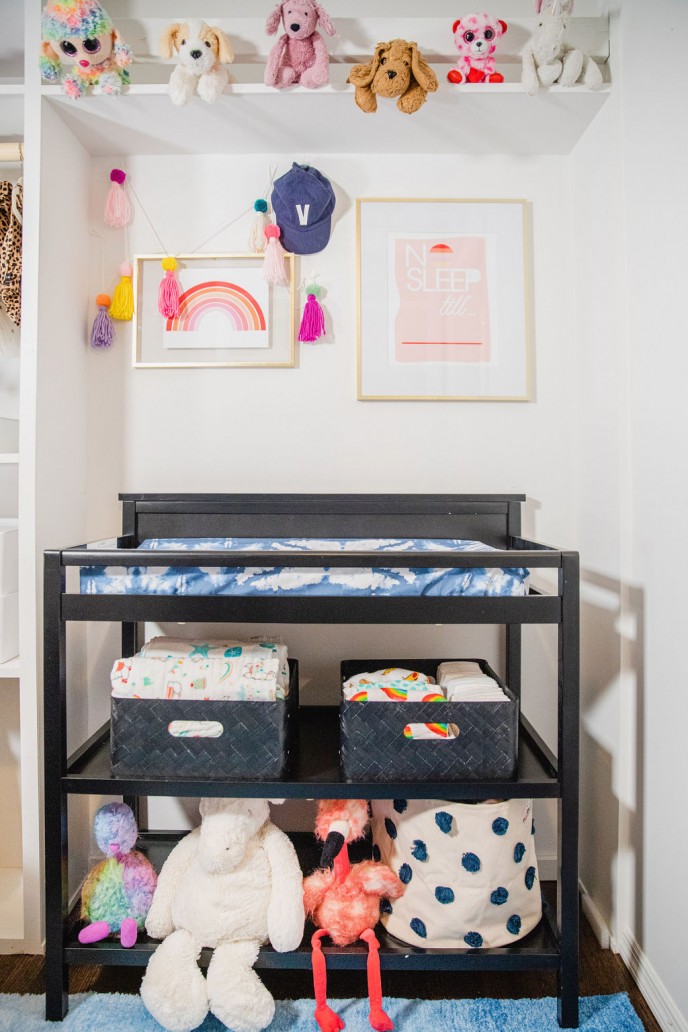
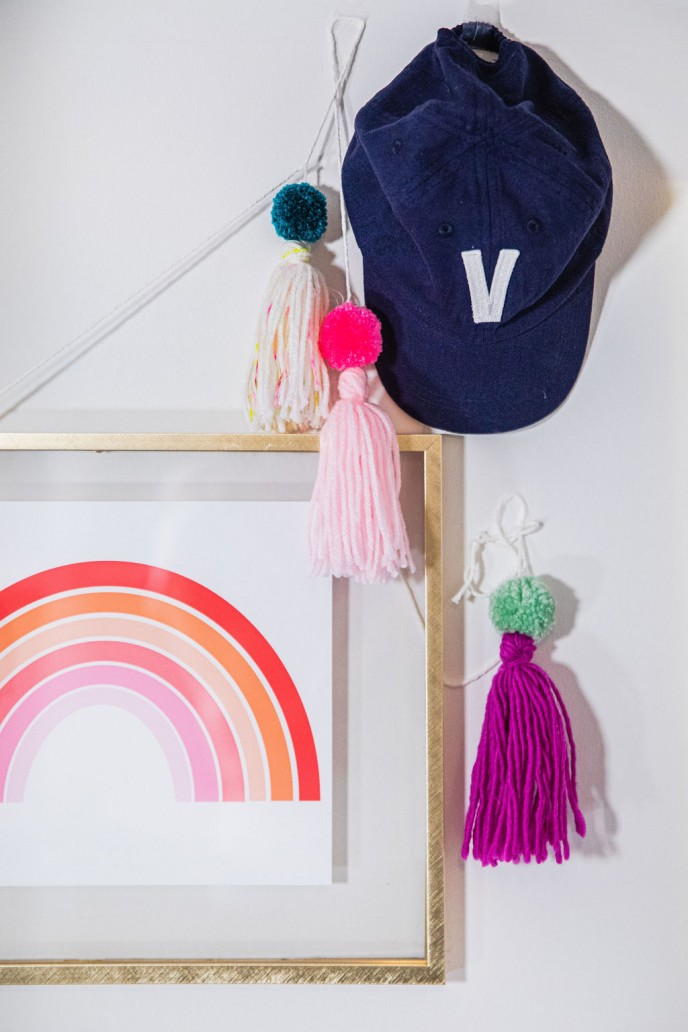
Selecting art for the walls was fun… well, let’s be honest… this was all Lisa, too! These whimsical prints from @kiscoprintshop were the perfect addition to the space, and I framed them in these affordable gold frames from @target, then wove the colorful @shopleokids tassel garland in between the art. 


Of course, the V baseball cap from @reytoz gives the room a personal touch, and the @babyjives moon and star mobile is another nod to her special name.


Throughout our few months of decorating, Lisa and I joked that we belong in an episode of HGTV’s Small Rooms show (if that show even exists yet). Every inch of this space was precisely measured, built and executed around the most practical furniture that would fit. I’ll always look back on this nursery design and be proud of the larger than life feel of the very small space.

It’s a super small room, with a whole lotta LOVE.


Photographed in NYC by Chiara Mecozzi

 
Continue reading...

Shop the Look

PAJAMA PARTY! SUNDAY'S 3RD BIRTHDAY

posted by Elshane on Mar 28 2019, under Home Decor/Entertaining


If you guys know me by now, you know that one of the biggest things I miss about living in Los Angeles is hosting parties at my house.

So when it came time this year to plan Sunday's 3rd birthday party, I looked for a space that felt open and inviting like a home-- somewhere that gave me all the tools to host a great event, but where I could also use my special party planning touches to add that Elshane sparkle.

I discovered that Kellogg's (yes, the iconic cereal brand) had just opened a concept shop in NYC that boasted wall to wall cereal dispensers, larger than life paintings of all of their famous characters (can I get a hello for Tony the Tiger, Snap Crackle Pop, and Toucan Sam?!), cereal selfie walls, Pop Tart towers, Eggo waffle stations, wait... should I go on? 


Kellogg's was the perfect canvas for Sunday's 3rd birthday party. But now I needed a theme...

I could be an all-star mom and go with Sunday's favorite characters like Shimmer and Shine, Frozen, Sunny Days... or I could be a hero mom and go with Sunday's favorite adornments like glitter, sparkles, pink and purple, unicorns, rainbows. 

Nah. I wanted something better. It had to go with the theme of the space, and what better theme for a cereal/breakfast bar than... A PAJAMA PARTY!!


My first call was to my dessert guru, Amy Cakes and Sweet Treats in Los Angeles. I begged her to design my cookies and overnight them to me in NYC for my party. She designed the greatest "Sunday's Sleepover" creations. She asked me to send her photos of Sunday's favorite pajamas and sleeping stuffed animals so she could design cookies around them. 

I had her send me extra cookies which I "glued" to our cakes using buttercream frosting. 

I also couldn't host a party without my favorite colorful black and white cookies (which I custom made in pink and purple, instead) by Dana's Bakery! They were a huge hit! (She does nationwide shipping, FYI.)


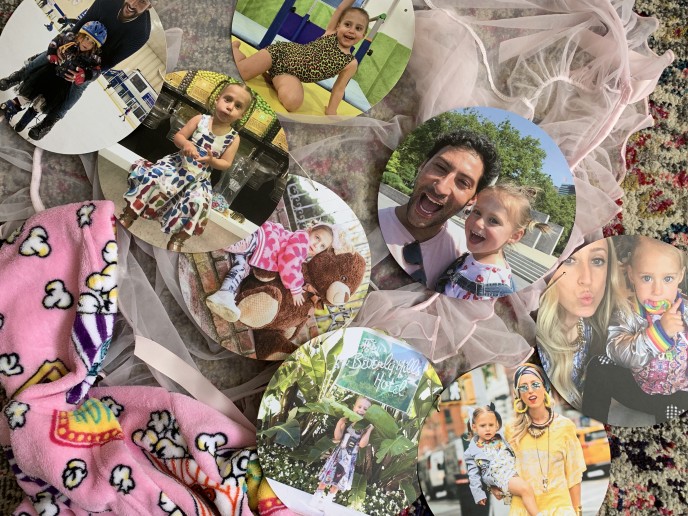
I called on THE ONE AND ONLY expert party and stationery megahouse Minted to create personalized decor to scatter throughout the party. We designed endless custom banners with Sunday's adorable photo memories from her lifetime, so that the guests could say "Myyyyy, Sunday, look how you've grown!!"

I designed quirky signs to hang throughout the space that said things like, "No Sleeping Allowed!", "Wake Up!", and "Eggos Have Vitamins!"

We made custom thank you hang tags with Sunday's photo that draped beautifully on the special goodie bags. 


Our pajama looks were high on the list of importance! Silly me, mom of a three year old girl, didn't realize HOW upset Sunday would get when I told her we were having a "Sunday's Sleepover" party (and not a Frozen or Princess party like her friends). 

When I told her each time that she would be wearing pajamas to her birthday party, she would melt down in tears. Finally, I realized it just wasn't going to happen. I quickly used my styling skills and sourced a custom NIGHTGOWN (it's a dress, right!?) with a beautiful chiffon robe that felt oh-so-sleepy, yet oh-so-princess-y. 

Win, Win! Also, we used Petite n' Pretty body and hair glitter for her hair, and a Made with Love and Kisses fuzzy robe for added color and fun!

For my look, I went silk pajamas with a designer handbag print from CJW, and custom eye masks made from Etsy


Entertainment and activities are key at birthday parties for every age. The second I penciled in what day I was having Sunday's party, I called Jam with Jamie to rock out with the kiddos!

They brought ALL the fun-- a singing band with full instruments, a parachute, bubbles, puppets and more! They sang all the Disney hits and even a bunch of tunes that got the adults groovin' along. We had to literally drag the kids away from them when it was time to EAT PIZZA! They didn't want to leave the corner of fun!


I also created an art table for the kiddos who wanted a more hands-on activity. My DIY of choice? Designing your own sleep masks, of course! Supplies were easy-- 50 solid colorful sleep masks from Amazon and one quick trip to Michaels to purchase a ton of felt stickers, glitter, ribbons, glue, and googily eyes!

DIY PRO TIP: When creating a DIY station at a party, it's always a great idea to design a few examples prior to the party. Scatter the examples all around the table at the party so you can entice your guests to get their creative juices flowing! Plus this allows you to problem solve in advance if the materials you envisioned aren't working well with the project!


Lastly, what party is complete without a face painting station?! The kids LOVE it. It's always a hit!!

Face Painting by Maria came highly recommended and she was so talented! Even the grandmas at the party got their arms painted. ;)


The goodie bags were important to me because I really wanted the kiddos to take home a piece of the Sunday's Sleepover theme. 

Luckily, when planning the party, I had just bought Sunday her first pair of Fuzzy Baba slippers, and thought to myself, "OK, every kid NEEDS these"! If you know how cute and cozy this brand is, you know it's a bedtime staple in any home!

I added Piggy Paint (Sunday's favorite nail polish brand), a box of Pop Tarts, and a few other trinkets to complete the sleepover theme. 

Party Success! Until next year my loves... 


Continue reading...

Shop the Look

MY IVF SUCCESS STORY

posted by Elshane on Feb 14 2019, under Baby/Motherhood


My journey with IVF was just that-- it’s mine. It’s not what I read about on web forums. It’s not what my forever kind followers messaged me about. It’s just mine. I hope this story inspires some, and I know it will frustrate some, too. But this is my tale.


Our IVF story really began with that very first needle pricked into my belly. Up until that exact moment, I was so completely and utterly certain that I was not an “IVF girl”.


The backstory is short and simple. We had started trying to have our second baby a month before Sunday turned one. By month three of trying, we were pregnant! That pregnancy lasted 11 weeks, at which time we lost the heartbeat. Of course I could write a lengthy tale of emotions on this topic, but truthfully, aside from the utter shock and disappointment, I was ok with it. I knew the statistics of how common miscarriage was, and I was so thankful for how happy and healthy our little Sunday was, so I felt this was a right of passage for our family’s next step. Sort of a, “we got so lucky with the first, so it was written in the stars that we would have to pay for it, somehow,” mentality. Balance the blessings with the curses, blah blah blah...


After that, we continued trying naturally for another six months-- each month that went by, I was positive that it would be our lucky month. By month seven, we started IUI’s, both non-medicated, and medicated, and by IUI month six, we achieved another pregnancy! This pregnancy was short-lived and vanished by six weeks, just shy of hearing a heartbeat for the first time.


If you could imagine, I was still convinced that if I tried naturally one more time, it would be the lucky time! So we did. And it didn’t happen. Cue: first day of IVF, 20 months after we first started trying.


The waiting room at fertility clinics feels like a factory of gentle robots. Dozens and dozens of women gather at 6am, ages 20’s to 50’s, all ethnicities, just sitting silently. Exhausted. I always wondered why no one spoke to one another, offered a hand, a smile, a word of encouragement. Looking back, I sat silently because I was afraid of what I would hear. I was so positive in my mind that my fertility story would be an epic success, that I didn’t want to be weighed down by a neighbors story of years and years of failure. I needed to keep my head in my zone. This aside, there was much comfort in knowing that so many women were going through a similar experience-- I was not alone.


IVF was like a game to me. I was given the rules and I was determined to win. The general format of IVF is that you visit your doctor’s office every morning or as directed, to have a nurse draw blood from your arm which allows your doctor to read your hormone levels. Once the results come back a few hours later, you’re instructed by your doctor to take X-Y-Z medication that day, typically self-administered injections, either subcutaneous or intramuscular, in your lower abdomen, thigh, or upper buttocks. Usually the shots have to be administered at the exact same time every day, give or take 30 minutes or an hour. The shots happen daily, for weeks or months or years, depending on your protocol and your luck. I did mine at 7pm every night, which allowed me the flexibility to go out to dinner and enjoy my nights after my shots, if I so desired.


My shots were FUN. Am I allowed to say that? Of course I would rather not have to go through it all again, but yes, the experience was fun. My husband, who usually gets home from work very late, agreed to be my biggest partner and advocate. He came home every single night, like a rushed Superman with half his cape trailing off, to give me every shot on time. We bonded... hard. We laughed every single time. We hysterically laughed every single time. Who were we? I was a Journalism major and he a Finance major and here we were mixing top secret sterile powder-to-liquid solutions with needles seemingly fit to tranquilize a horse. We were slowly becoming trained Anesthesiologists (is this sounding too Dirty John?) and we were convinced that we were ready to be on call at NYU hospital should we need to be of service. I dreamed of putting babysitter-like fliers up on my neighborhood streets offering assistance to anyone who needed a hand with injections. Speaking of...does anyone need a hand? We’re available.


Our memories of stabbing my tush and belly with shots every night were left only with smiles. I didn’t react poorly to the hormones and turn into a raging emotional version of myself. I was happy. I felt like, finally, after this near two year journey of feeling out of control, that I was finally taking control of our destiny.


We got lucky. Our IVF transfer worked on the first try. We picked the “healthiest” embryo and prayed that this “Science Baby” as we always called it, would join our family. I spoke with Sunday every night about how excited we were to one day give her a little sibling. We told Science Baby that it was welcome in our house and we couldn’t wait to greet it with open arms.


My journey with IVF was short (only 9 weeks of needles) and sweet. Our experience was a blessing and we are so thankful for our little fresh transfer embryo who worked so hard to grow inside my belly. We cannot wait to meet her. She will forever and always be our Science Baby.
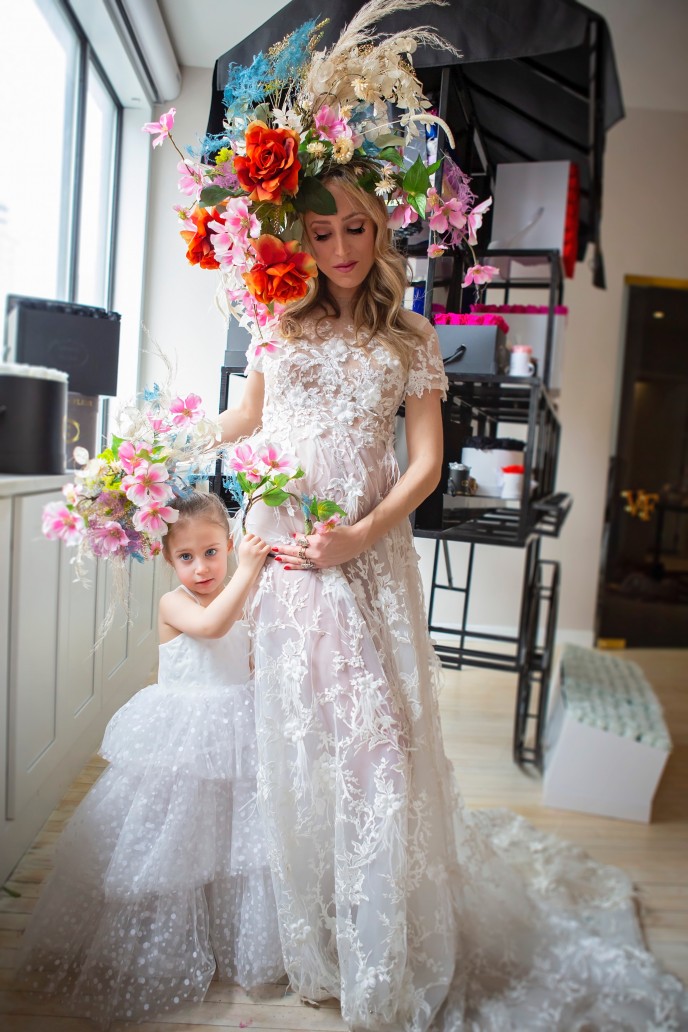


I thought it would be important to share a real, unfiltered diary of my IVF experience. These photos below are as basic and unedited as it gets. The captions describe the process along the way. Here's how it all went down... 


Hoarding serious medication with a wandering, curious two and a half year old running and climbing around is no easy task. Unlike my vision of keeping a neat, sterile table with my daily medication laid out in perfect order, my meds were stuffed into any and every corner of my medicine cabinet, far from the reach of my daughter's tiny hands. 
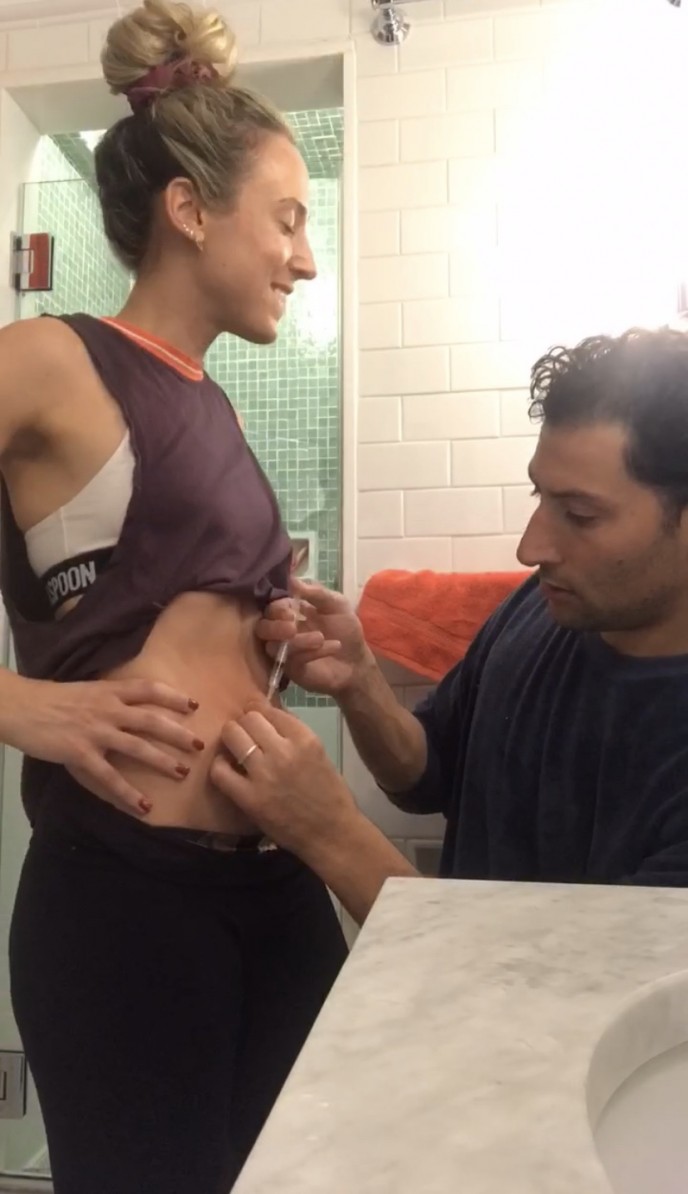


Nightly injections were a quick routine...

Step One: Do something against all of our parenting beliefs to occupy Sunday while we whipped out our secret stash in our bathroom. Television, iPad, cookies... we tried it all.

Step Two: I'd prep all of the injections (Virgo OCD style) while Dr. Hubby would ice my belly with frozen peas.

Step Three: Barricade the door closed from the inevitable Sunday busting through the doors at exact mid-injection time nearly every night.

Step Four: Throw my hands in the air to divert Sunday's eyes upward so she wouldn't see any needles entering my body. 

Step Five: Rapidly clean up and pretend that nothing just happened. The end.


This was around day 10 of my shots. Bruising here and there but no bloating luckily. I resumed light workouts per my doctor's permission. It felt good to just be myself. 


I maintained weekly and bi-weekly acupuncture throughout my IVF process, as well as long before the IVF even started. So many reports say acupuncture helps with fertility, and I didn't find one study that said it hinders it, so I gave it my all. 

I will particularly recommend acupuncture around your egg transfer timeframe. Acupuncturists strongly urge the benefits of doing acupuncture the morning OF (right before) your transfer, as well as the afternoon (right after) your transfer. Yes, that's twice in one day. I listened!
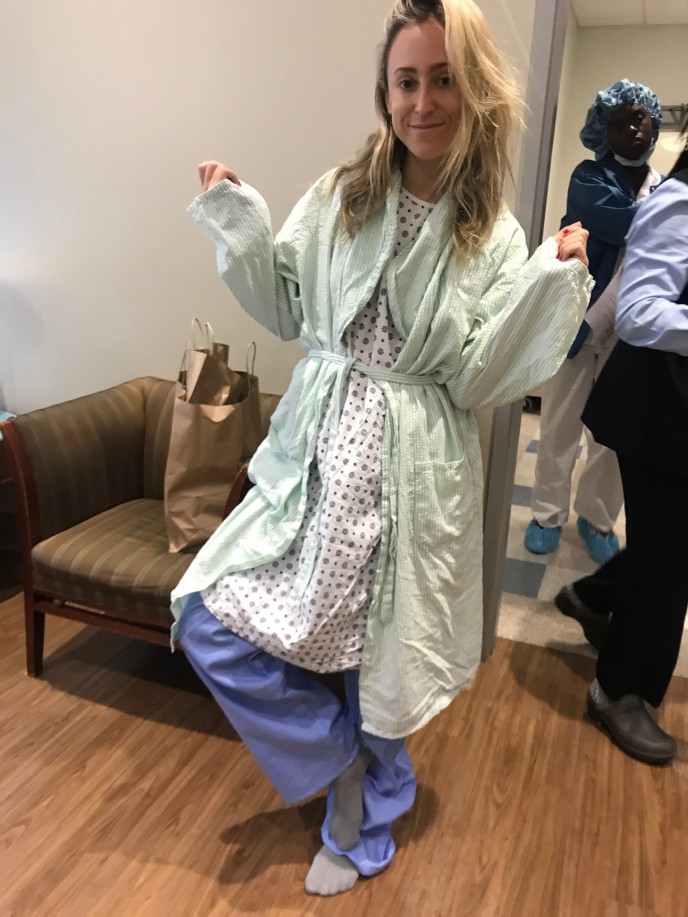


Retrieval Day! After about 13 days of shots, I was scheduled for my retrieval surgery at the hospital. The whole process takes a few hours. A team of doctors put you under anesthesia, extract all of those beautiful follicles you've been growing as a result of the injections, and store and monitor them very carefully over the next 3-5 days to assess which are healthy enough to be sent out for genetic testing or get frozen right away.

Many eggs are lost in this 3-5 day process. It's not uncommon to extract 20 eggs but only be left with 2 after five days. Also, every month is different. On any given month, you could produce a different number of eggs. Pretty crazy to hear that fact when you invest so much time and money into this process. Did I pick the right month to do this!? Ahh!
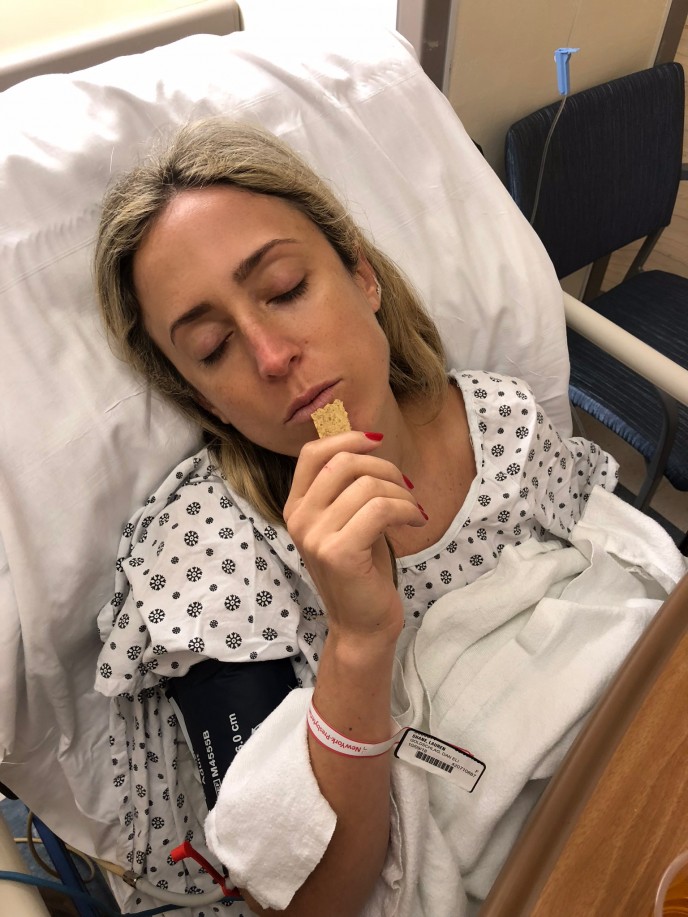


This photo cracks me up. This is about ten minutes after my retrieval surgery. I was slowly coming off of the anesthesia and I asked my husband to take a photo of me. I truly thought I was smiling with my eyes open in this photo. Truly! And what am I eating?


More photos please! I wanted to get the "perfect shot" so I asked my husband to take another photo of me. Look at me! Eyes open (ish) and smiling! Just like the last one!! ;)

P.S.- Surgery went well! Successful retrieval! They matched my eggs with my husband's sperm and let embryos grow over the next 3-5 days. This is now what separates full IVF from just freezing your eggs. If you just freeze your eggs, you're officially DONE! If you're doing IVF, now's the time to make embryos (egg plus sperm) and start cooking up those science babies!



Here's the fun stuff that the doctors don't mention during the IVF egg retrieval process... the nightly progesterone shots that you'll have to take in the tush with needles fit to tranquilize a horse-- and no pre-icing allowed! (These shots are oil-based so they need to stay warm to spread well through your muscle tissue.)

After each shot that my husband would give me (with satirical joy, may I add-- he would dart these into my tush so hard and we'd be cracking up each time because these shots were NO JOKE), he would lay me on the bed, massage the injection site for nearly 10 minutes, and then I'd use a heating pad for another 10 minutes to continue to spread the oil throughout. 

Do you remember what it felt like in elementary school to get a dead leg? Imagine a dead butt... everyday... from when you wake up in the morning until that very evening when you'd have to inject once again! All good, though ;)



Here we are for our fresh transfer day, five days after my retrieval! This is the day that they insert the best looking grown embryo back inside of me, hoping it will "stick".


Doctor gave me a photo of our "science baby"! This is the embryo that they transferred inside of me. They said it was the most beautiful embryo they had ever seen. I agreed, of course! I remained very positive throughout this process. And wow, was it quick. No anesthesia! In and out of the hospital within an hour. 


About 10 days after my transfer, I took the test. Science baby stuck! We were so happy. I just knew, even after seeing a few of these positive results in the past but then being let down by miscarriage, that this one was our baby. This was our science baby.


Here I was 16 weeks pregnant. I can't help but be much more nervous this time around. With my first pregnancy, I was so chill. This time, I'm a bit more filled with angst. But with each week that goes by, my worry subsides more and more!


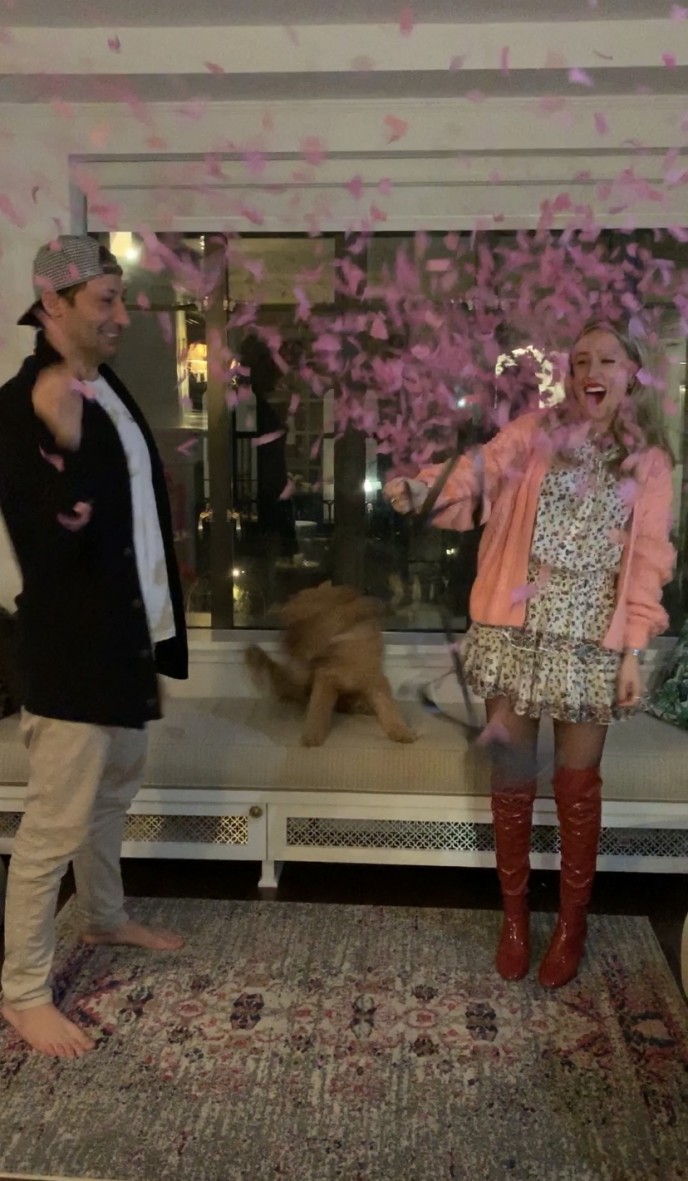
We had a gender reveal with all of our closest friends. We were absolutely shocked when pink confetti flew out of the balloon!! Of course it's 50/50 with gender, but for some reason, we were convinced it was a boy! 

I've always been utterly envious of the relationship that sisters have-- I don't have a sister. I am absolutely, positively FREAKING OUT SO EXCITED TO GIVE SUNDAY A BABY SISTER!!!!!!!!!! 

Girl gang for life. I seriously couldn't imagine it any other way. <3


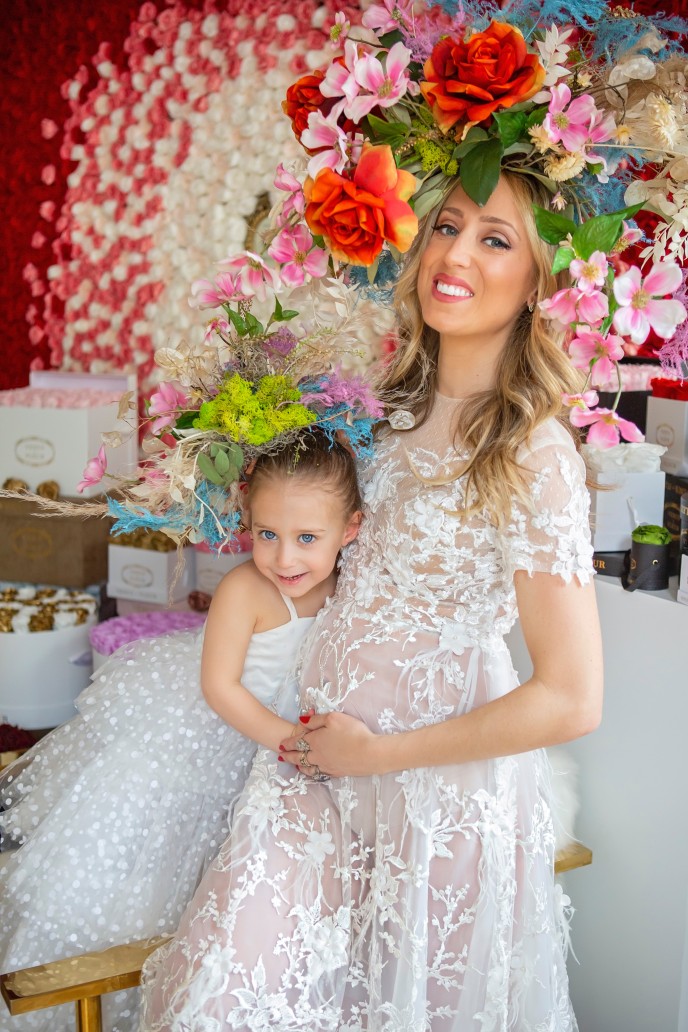
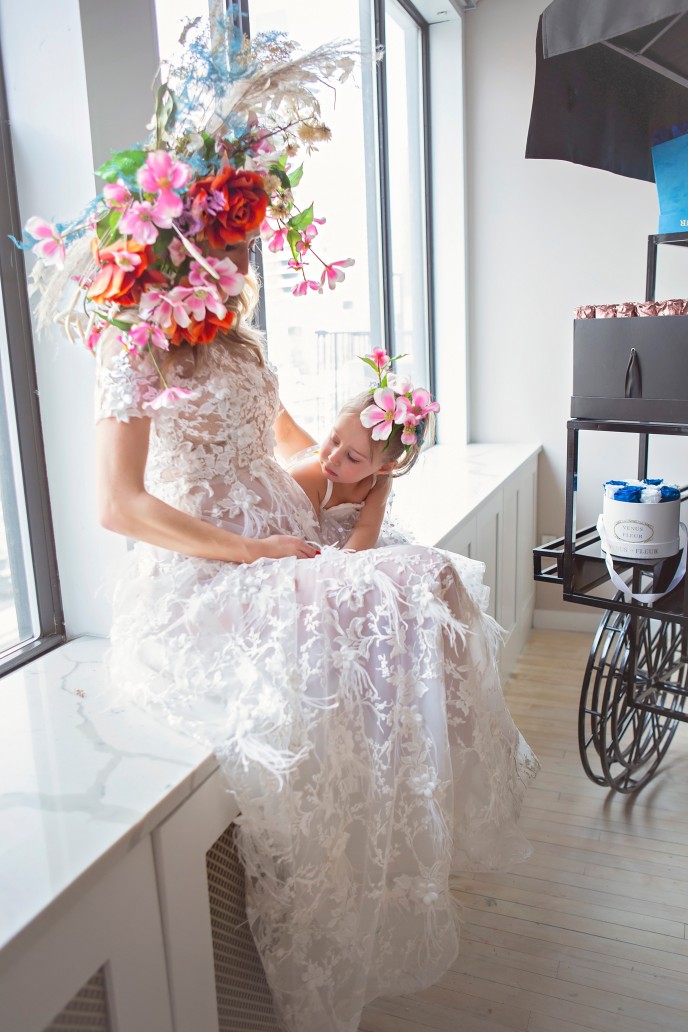
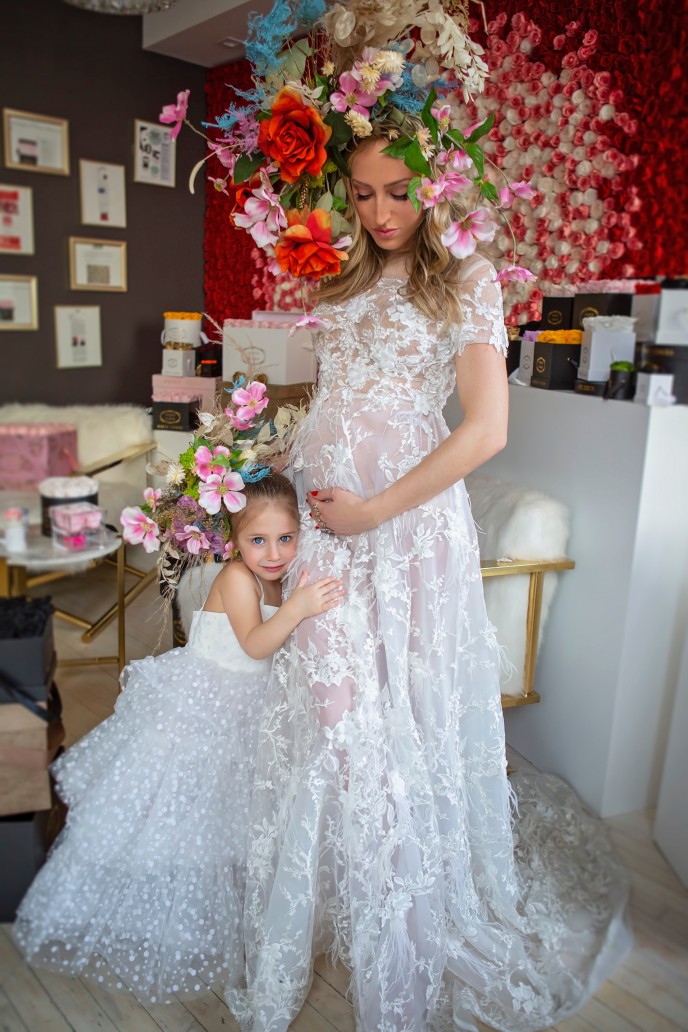
Photographed by Sara Kalish at Venus Et Fleur NYC, at 20 weeks pregnant

Please leave a comment in the comments section below!

Continue reading...

Shop the Look

HOW TO MIX PRINTS

posted by Elshane on Jan 24 2019, under Fashion


Hey all you print on print ladies out there! Yearning to mix it up, but weary of pairing it all wrong? Well, there's no particular rhyme or reason to mixing prints, but one thing's for sure... it either works, or it doesn't, there's no gray area. 


Here's a general guideline to mixing prints. I challenge you to rise out of your comfort zone and mix away!

1. The Size Rule: Often times, prints that scale the same size (quarter inch flowers and quarter inch leopard) will work well together. Since the eye isn't heavily distracted by a distortion of sizing, the prints end up meshing well and looking like a natural pair.

2. The Color Rule: Of course, prints in similar color hues have a better chance of pairing well together. Try to find prints that share even one or two of the same colors and lay them on top of one another. Chances are, they can harmoniously blend. Cue: this photographed look. Notice how well the black of the leopard pairs with the black of the "Versace" print? Nailed it!

3. Different Eras, Different Looks: Generally, if you have, let's say a 70's inspired geometric print, I wouldn't suggest pairing it with a 90's funk plaid. Instead, for your 70's geo print, find a like-minded vintage fabric that will transport your look directly back to that time period.

4. Find your Neutral: In this photographed look, I used the snow leopard dress as my neutral. It offered a "blank" (laugh as you will) canvas for the wild jacket and felt like a natural pair. Find your closet neutral print-- maybe it's a tonal plaid blazer, or a polka dot sweater? Both sound trés neutral to me... and pair away!


Continue reading...

Shop the Look

SEASONS CHANGE, DEMANDS CHANGE

posted by Elshane on Nov 27 2018, under Fashion

There's been an obvious lack of presence on my blog lately, and there's only one explanation. 

" ... It's not me, it's you... "

No, but really, it is you. It seems with the evolution of digital media, our eyes are more invested in the scroll of Instagram, the pins of Pinterest, and the chatters of Twitter, rather than the "old school" blog format. I don't disagree. I think blogs in general feel a little stale lately. To be honest, even I don't read them anymore.

I've toyed with the idea of molding my blog into something else, but for now, it will remain what it has always been, a photo diary of the ins and outs of my world. I will continue to keep you on board, so check in here and there to see what's new! 


Continue reading...

Shop the Look

OUR NYC NURSERY ON THE FLY

posted by Elshane on Aug 13 2018, under Baby/Motherhood


So we moved to NYC in a flash and I was determined to create a nursery for Sunday that felt warm and inviting, as if she never left Los Angeles. I knew that this NYC apartment was temporary for us, since we'll be back in LA in no time, so I was on a serious budget, but I didn't want to sacrifice style.

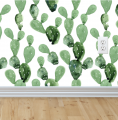
I styled my nursery around this palm printed peel on/peel off (like a sticker) wallpaper to remind our family of our life in Los Angeles that we love so much. The rest of the decor was up for grabs...

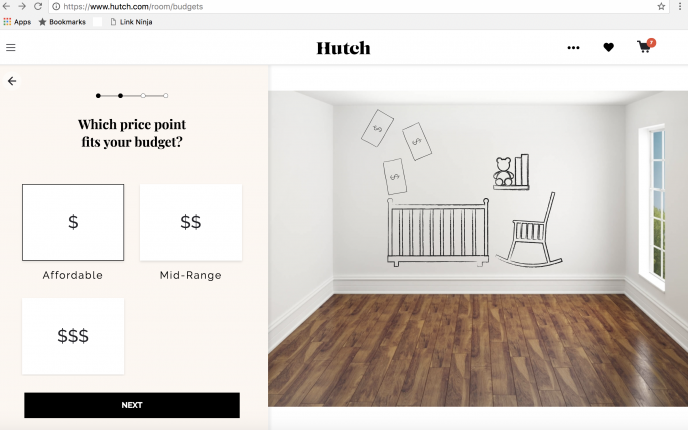
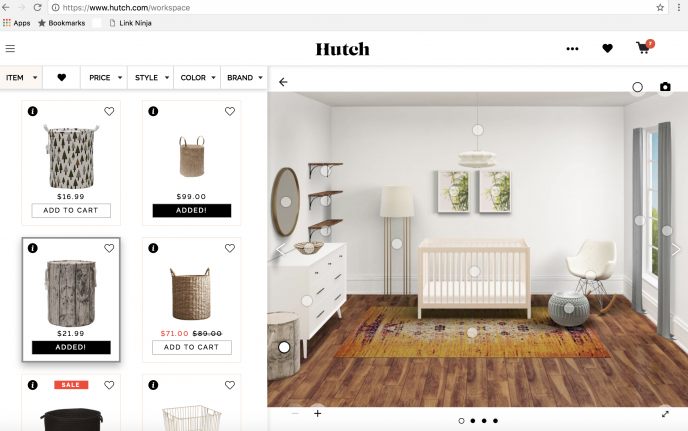
I stumbled upon Hutch.com, a home decor site that allows you to visualize your space as you decorate it with items from their site. Since their database of inventory spans from all of our fan-favorite home decor sites, from Pottery Barn and West Elm, to Wayfair, Serena & Lily, and beyond, I was able to search items by price and style to fit my needs.

Here's how it works...


I found this dreamy orange rug that I thought would compliment my palm printed wallpaper perfectly. Then I played around with different cribs--  I surprised even myself when I ended up choosing this light wooden crib. Once I saw virtually how well it sat on top of the orange rug, I knew it was my best choice. 

Funny thing is, if I were shopping in a store and didn't first see the virtual layout of this room, I never would have picked the wooden crib to go with the orange rug. Hutch.com made me realize how important it is to virtually see a layout of a space before you make big decisions.


The apartment we rented came fully furnished, so this white daybed was already in the room. If I were designing the room from scratch, I wouldn't have chosen to add this piece of furniture, but it's proven to be an incredible lounge space for Sunday and I to lay on and read together every night. 


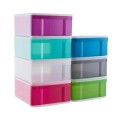
The closets in the apartment were designed for adults-- beautiful, ample hanging space-- but that leaves so much wasted space when storing tiny kids clothing! I purchased these fun plastic drawers to store all of Sunday's foldables, which allowed for maximum usage of the closet space.


Now that I look at it, I definitely was subconsciously inspired to choose that orange rug because of the incredible orange light fixture that came with the room! If I could, I'd run away with this light fixture and never come back! It's so fabulous and really adds an element of individuality to the space. 


Most importantly, Sunday absolutely loves her room. She loves her crib (is it ok if I keep her sleeping in one until she's 10?) and she loves the juxtaposition of color and good vibes. 

I hope it reminds her of Los Angeles the way it does for me. 

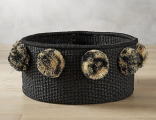
It seems that a slab of wallpaper, a crib, some throw pillows, and a few baskets can really go a long way for a "nursery on the fly"! 

With love from NYC, XO


** You can shop all of my decor pieces in my shop the look section below! **


Photography by Cameron Mirza


Continue reading...
Shop the Look

FORTE DEI MARMI: SOAK IT IN

posted by Elshane on Aug 9 2018, under Fashion


I've arrived in Forte Dei Marmi at our bed and breakfast meets front page of Architectural Digest hotel. I've never stayed anywhere quite like this before-- we drove up a narrow, windy vineyard road in Camaiore, Tuscany, a town or two over from Forte Dei Marmi, to find a mansion fit for Italian royalty awaiting us (and the 11 other guests who can occupy their 12-room glamorous bed and breakfast, or as they refer to it, "guest house"). 

We opted to stay here at Locanda Al Colle instead of on the beachfront in Forte Dei Marmi because we wanted a true Italian countryside experience. And it delivered!


Surprisingly enough, Forte Dei Marmi reminds us a lot of Aspen (if Aspen was on the ocean). The people are ultra glamorous yet understated, the luxury shops crammed in every possible corner around town are open until midnight (which leaves lots of room for post-dinner wine-induced shopping), and biking around is the preferred method of hopping from beach to lunch to dinner.

Oh, and the beach clubs... they deliver fun in the form of either ultra-relaxing private cabanas, equip with masseuses to drop-in for 20 minute back rubs, or a complete "180" beach experience-- champagne-spraying, cabana trampoline dancing, no regrets day parties-- depending which beach club you choose.

We dipped our toes in both, of course! ;)


Here we are at Nikki Beach in Versilia, Tuscany. It was one for the books!


We spent another day at a relaxing beach club in Forte Dei Marmi, exploring the waterfront by bicycle.


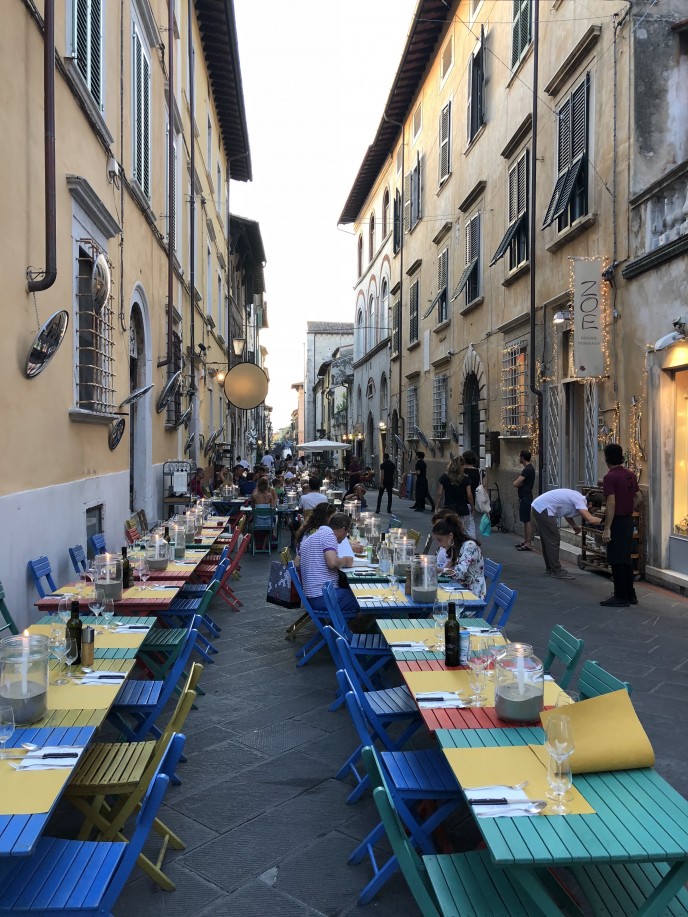
Another incredible way to spend an afternoon or evening is to visit Forte Dei Marmi's neighboring town, Pietrasanta. Pietrasanta is a medieval town that is a sanctuary for international sculptors and artists. 

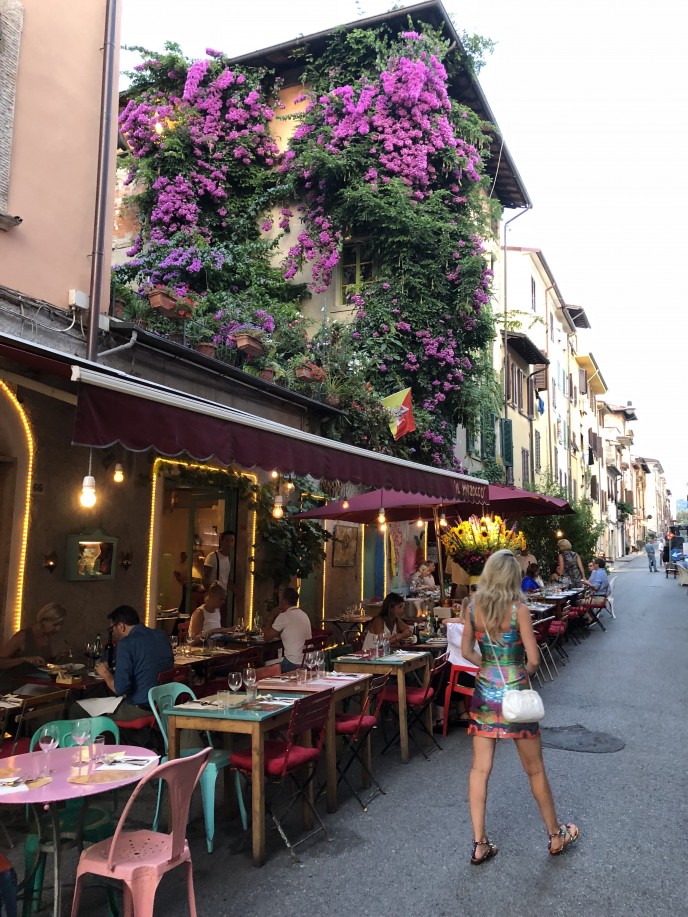
Art galleries, outdoor art installations, unique women's clothing stores, and sidewalk restaurants line the narrow cobblestone streets. The main part of town is closed off to cars, so strolling the streets by foot, hand in hand, is a true pleasure.


We also took a 20 minute drive outside of town to Pisa. We couldn't miss the iconic leaning tower, and it was just too instagramable to resist! How'd I do? 


Continue reading...
Shop the Look

Current location

Los Angeles, CA
Follow me on Instagram here

HI! IT'S ELSHANE FROM LOS ANGELES, CA
(BY WAY OF NEW YORK CITY)

I STARTED MY BLOG IN 2010 AS A WAY TO ARCHIVE ALL OF THE ONE-OF-A-KIND RUNWAY PIECES THAT I OWNED FROM WORKING AS THE IN-HOUSE STYLIST FOR DIANE VON FURSTENBERG IN NYC.

THEN, IT ALL HAPPENED SO FAST... BIO
EMAIL ME
ELSHANE@ELSHANESWORLD.COM

@Elshanesworld on Instagram

Follow me on Google+!